What is a hobby without the joy of doing maintenance/repair work yourself? In my opinion: Nothing! And one of my life’s credos is: I don’t want to own something that I am not able to repair. 😉 This is what distinguishes true ownership!
Maintenance and repair work on Steinbergers is not rocket science. If you do not have two left hands, you can do it yourself!
On this page you find very helpful information on projects, repairs and maintenance I have done so far!
I was lucky to get the chance to buy a Steinberger GL12. An amazing instrument, but with many years under its belt, the 12-string TracTuner needed a service!
First it’s time to remove the strings and the saddles
Remove the 6 hex screws that hold the TracTuner in place with a 7/64″ allen wrench. Note, that there is a shim under the TracTuner.
Moreover, note that this bridge weights over 1/2 kg. 😉
Trac Tuner with shim
572g with saddles
Remove the 7 screws that hold the TracTuner together with a 2.5mm allen wrench. Note the different length of the screws!
CAREFULLY take off the tuning screw. It contains a metal spring (8.5 mm long, diameter 3 mm) and a small metal ball (1/8″ diameter). Don’t lose this parts!
tuner flipped over
screws removed
parts
tuning screws and string jaws
detail: tuning know with spring and ball
tuning knob detail
..with ball in place
Time to clean of all the dirt and grime: I pre-cleaned with WD40 and then gave the tuning mechanisms a bath in the ultrasonic cleaner to rid all the old residue.
The tuning screws measure 21 mm in length, thereof 18 mm thread length and have most likely a .112″ thread. They may be #4-48 UNF screws, but definitely not metric M3 (as it will screw in but sits much too loose in the thread).
Parts
pre cleaning WD40
Ultrasonic bath with IPA
dirty IPA after ultrasonic cleaner
tuning screw .112″ thread
length. 8/10″
Time for the rebuild and lubrication. I used Molykote DX, a great product for reducing friction between metal and metal.
When reattaching the screws always turn them counterclockwise a little bit to make sure that you enter the thread correctly!
All of a sudden, my GL4 created awful noises. Even when plucked very softly, the sound distorted drastically. So I needed to find out why. Amp, cables and the battery in the guitar were fine, so I knew that the culprit must be inside. Watch the video to learn how to search for the root cause and how to repair it!
HAZ Labs was kind enough to help out with information: In case an active EQ board causes problems, it is either the IC (Texas Instruments/National Semiconductor TL072 or LF442 both interchangeable) or one/both golden output capacitors (mine read 4,7uF; 35VDC; 2,5mm). Check the denomination of your components before buying/changing them and buy quality products! The ICs are not produced anymore but you will find NOS items eg on ebay.
Kudos also to Bernd from headless-europe.eu for worthwhile information about how to strategically identify the error!
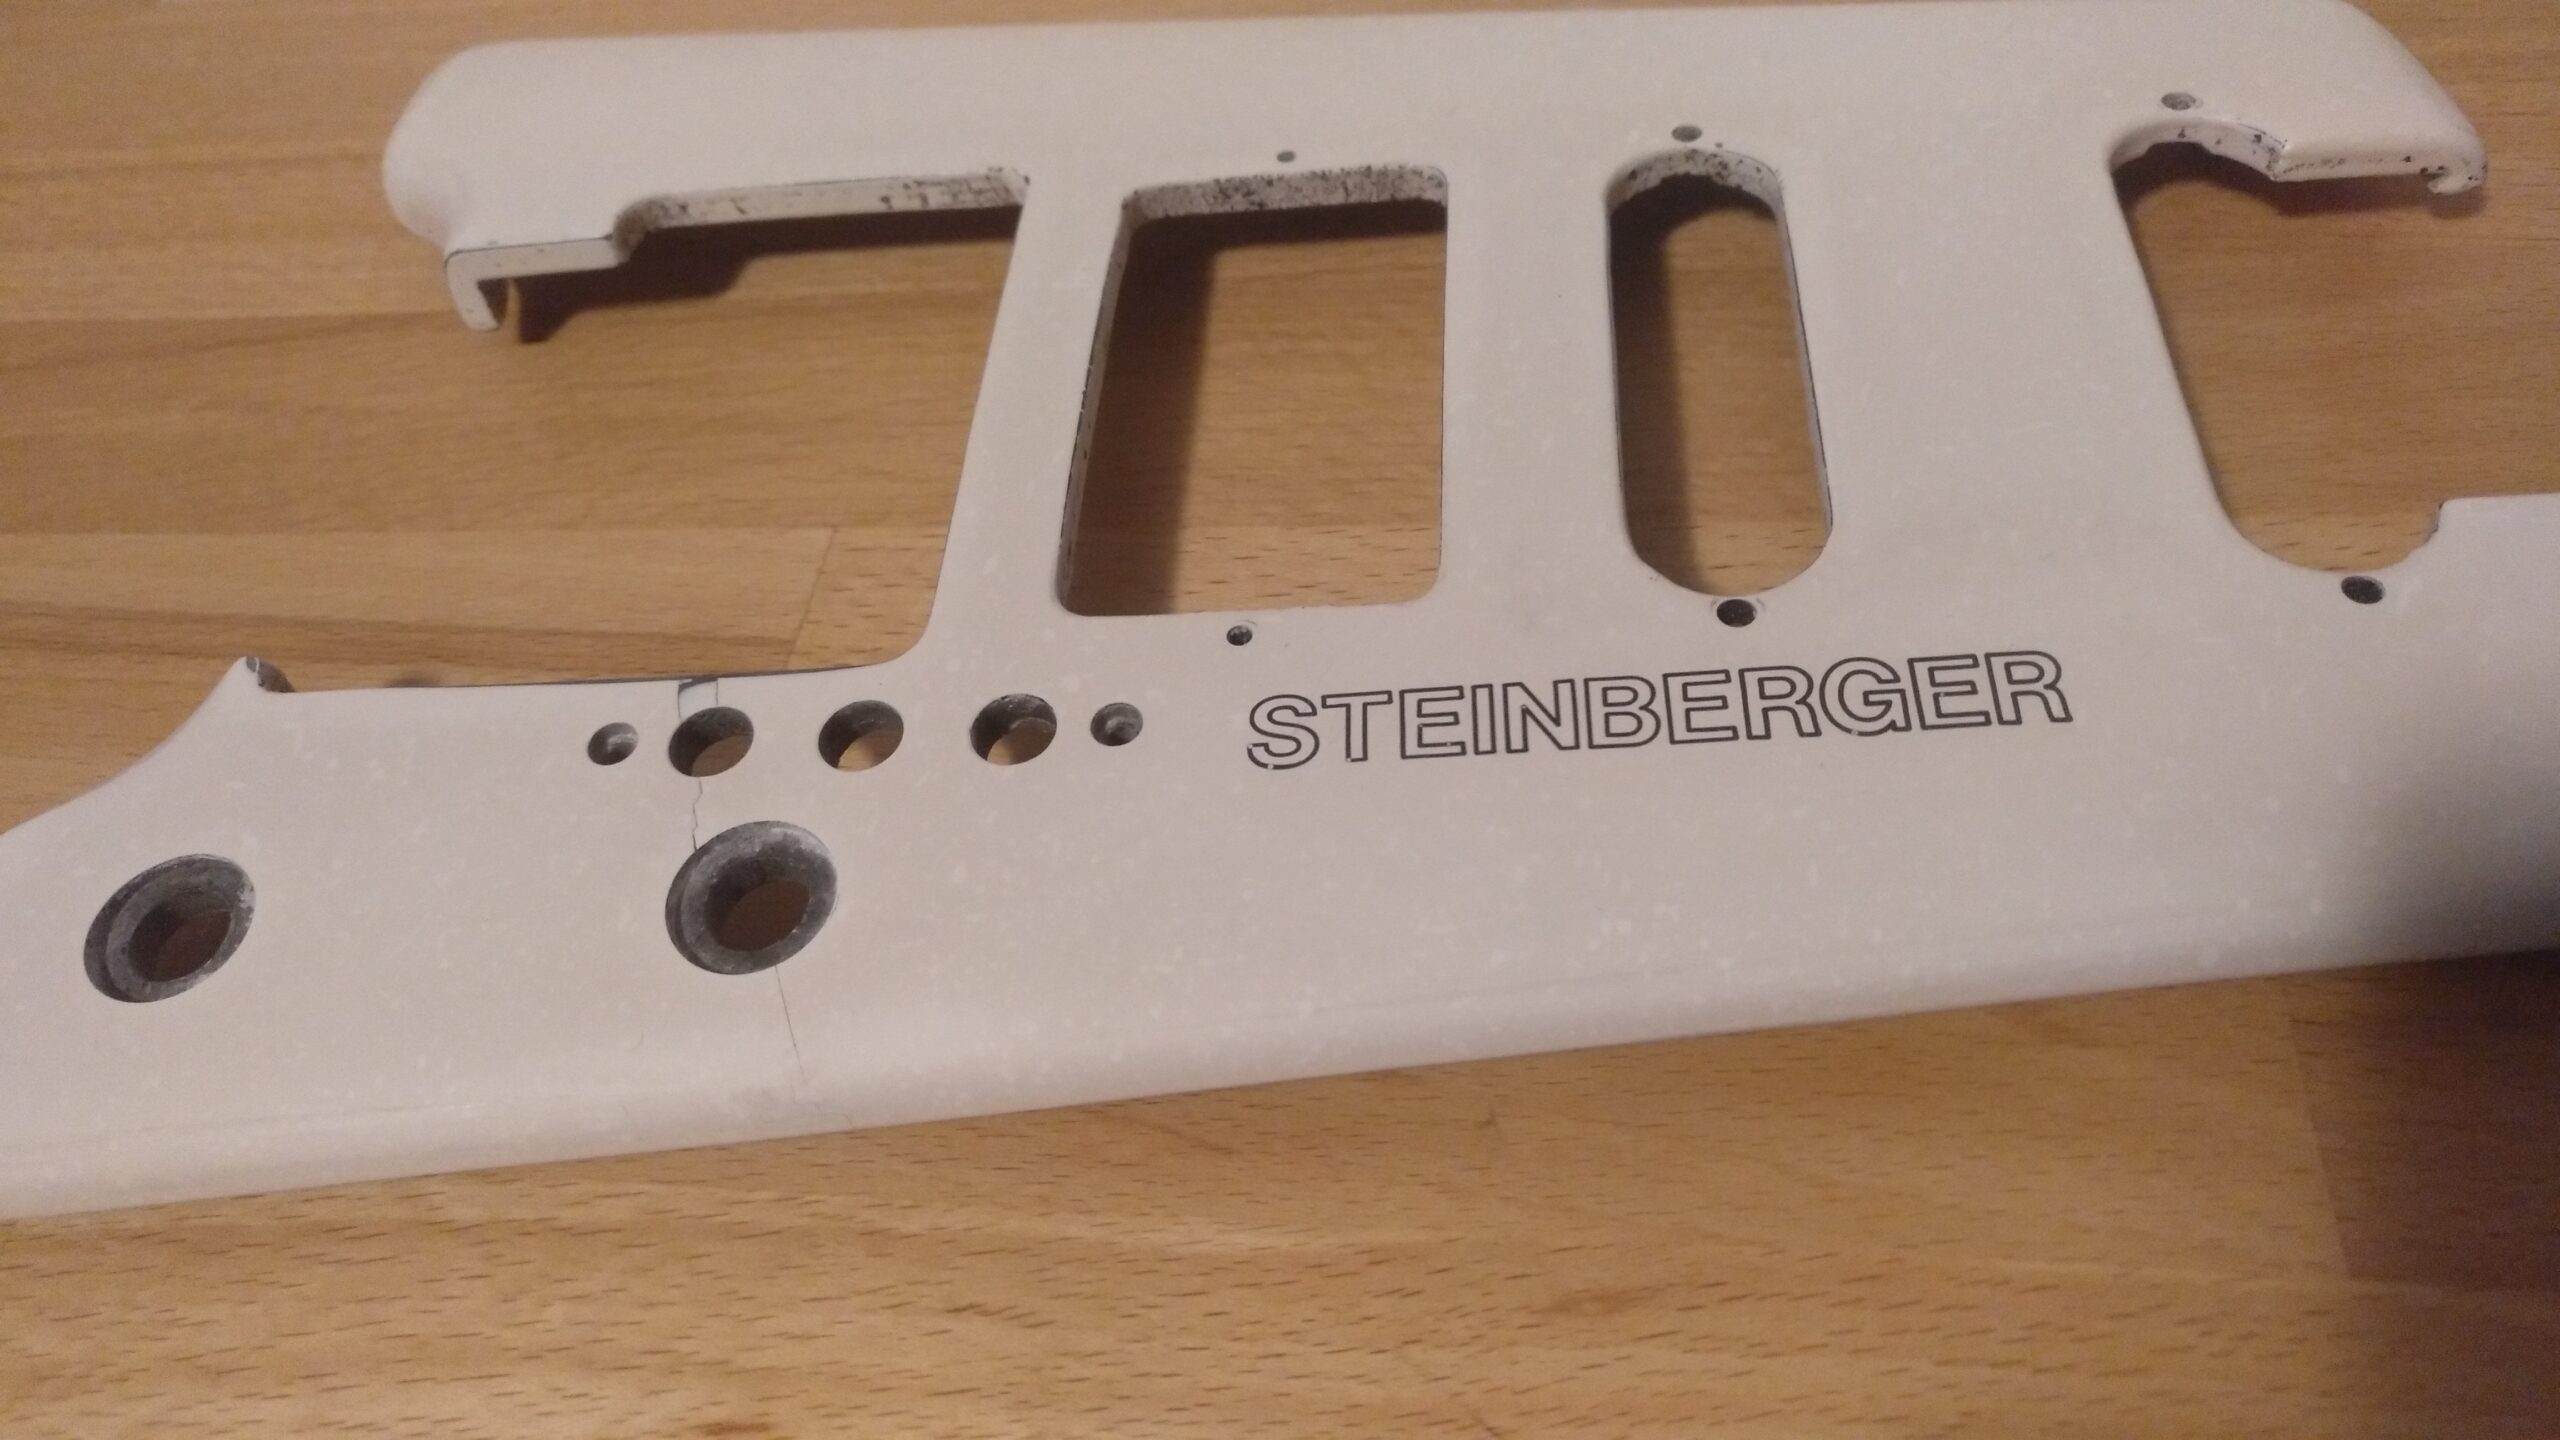
Steinberger GL/XL use attached faceplates that are interchangeable. I found an offer for a white faceplate with “4” pickup configuration that indeed needed some TLC.
In search for new designs, Steinberger tried out different things like this speckle design. However, it never made it into sale and lay around for decades with no use.
I saw the offer and said, this is a perfect restoration basis!
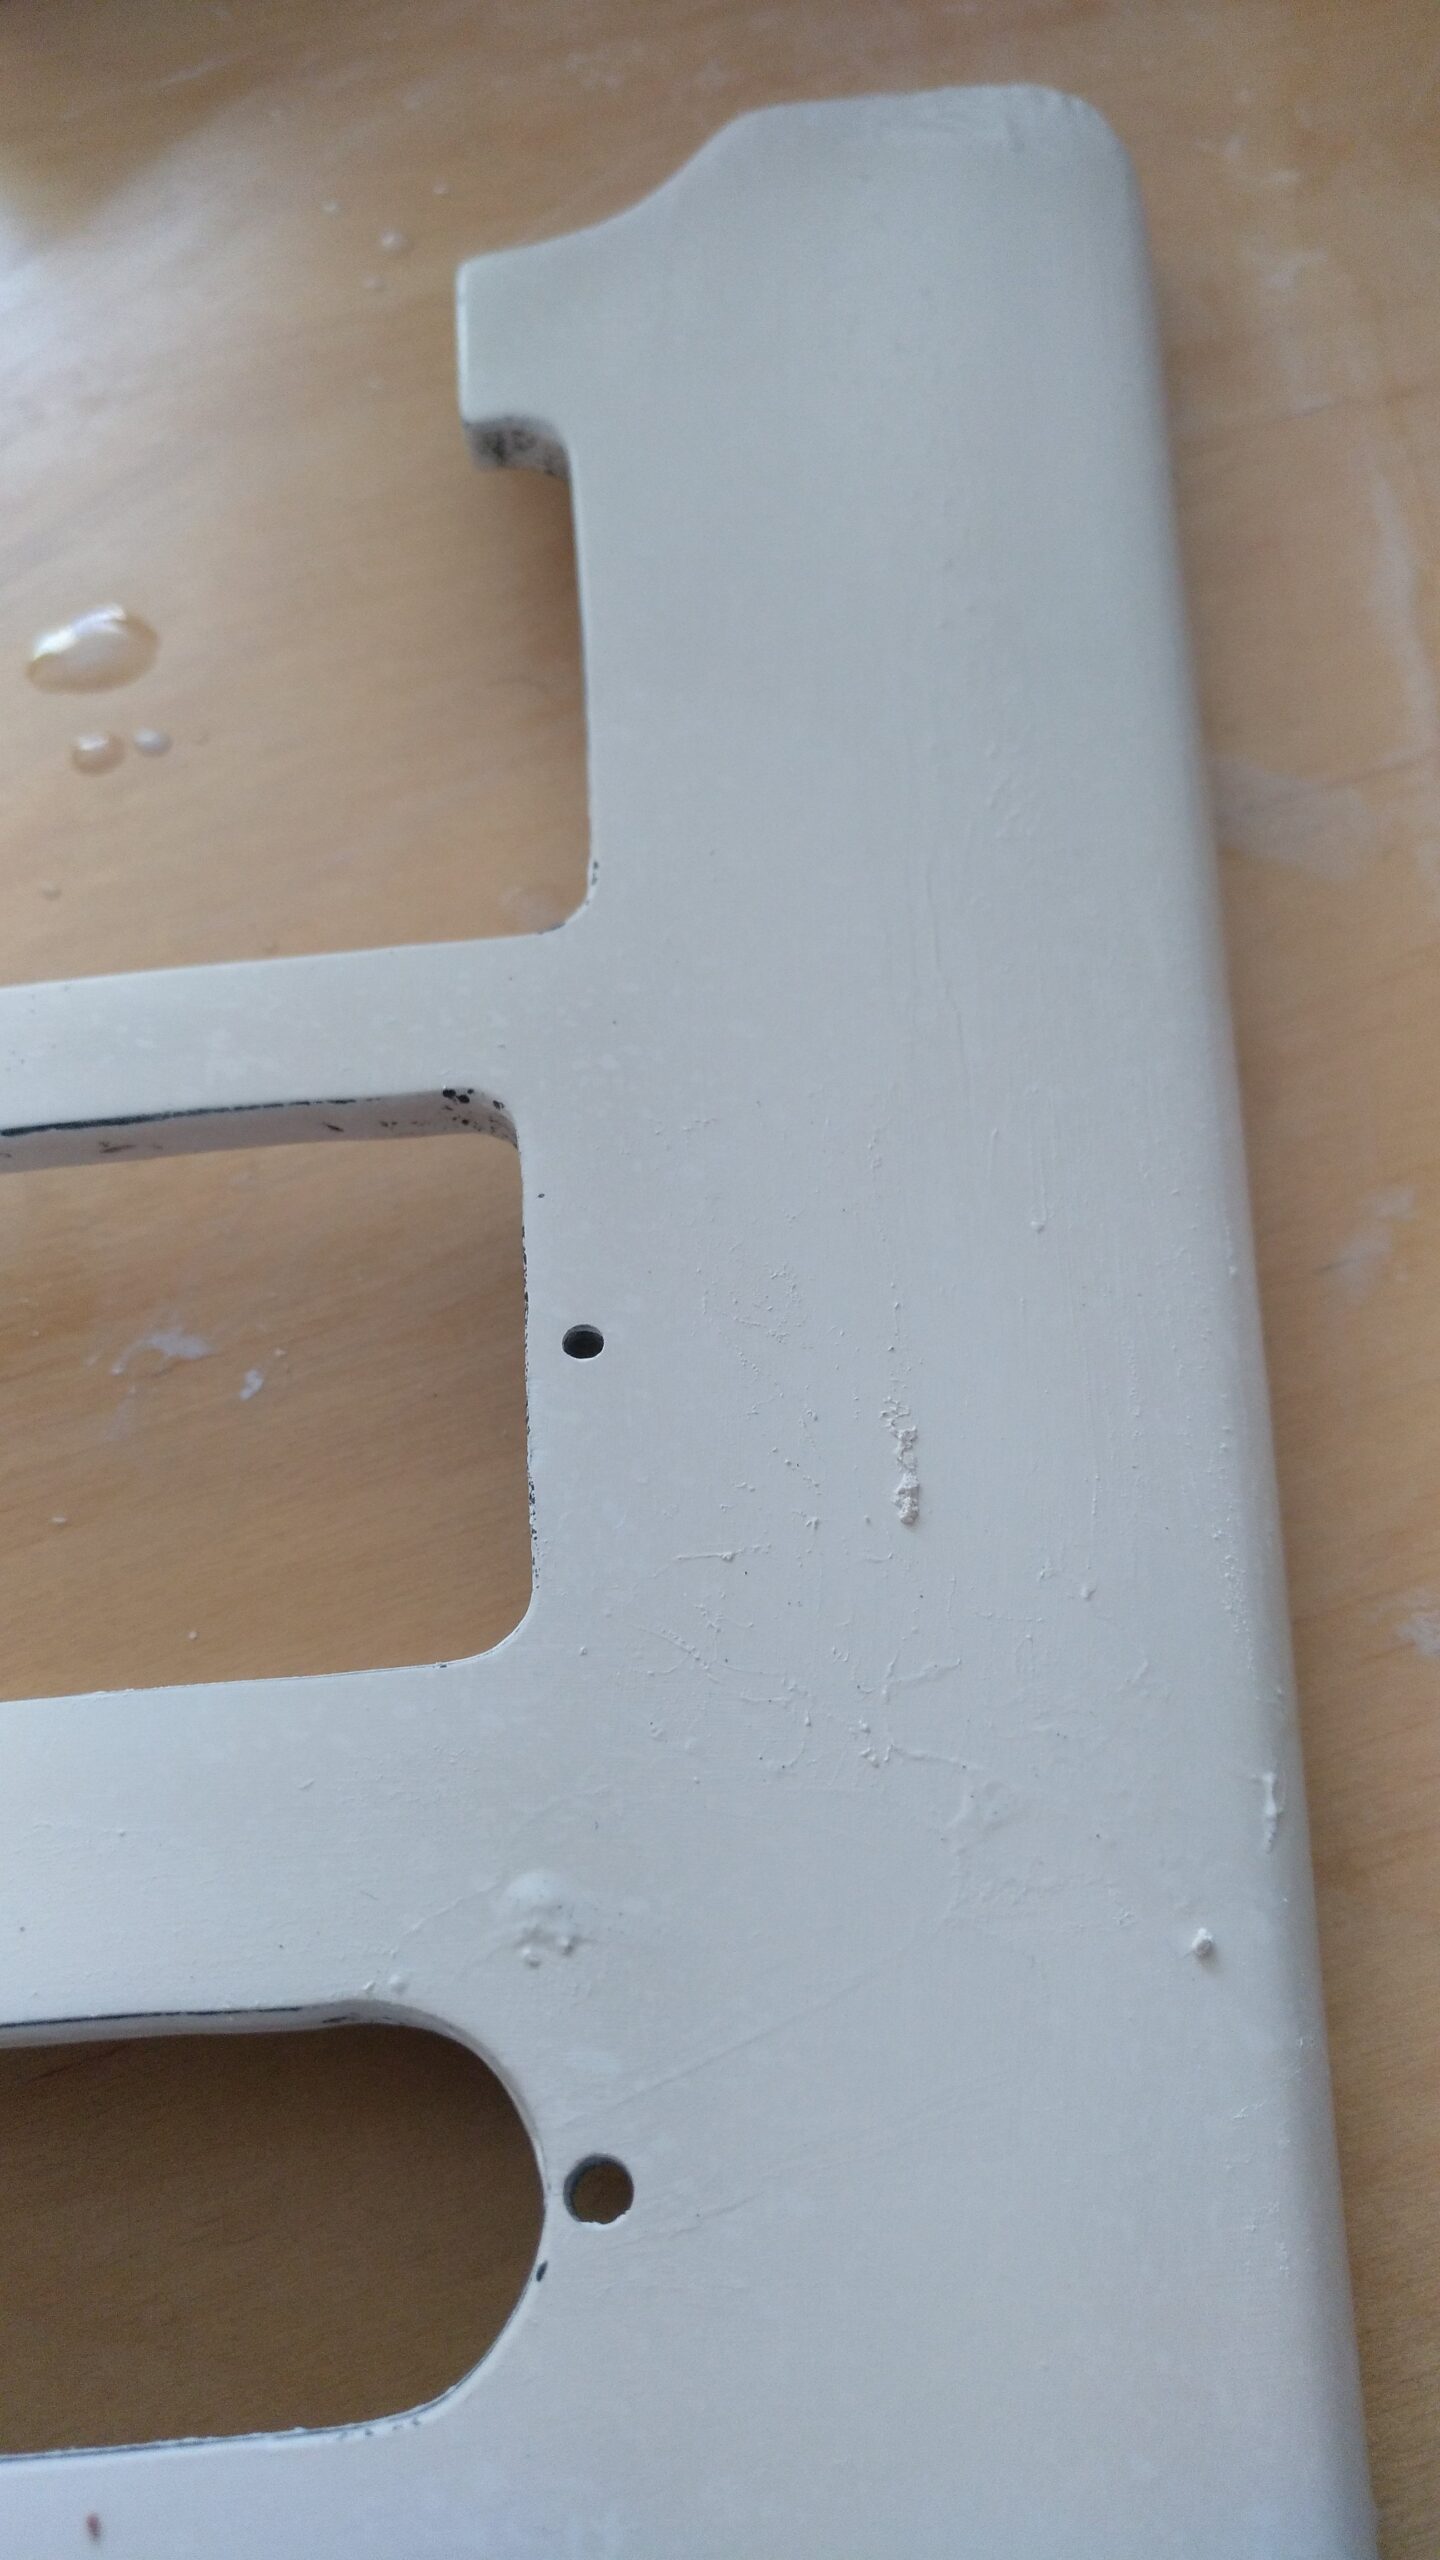
When I bought it, the black speckles were mostly gone, leaving white spots and grey shades that looked very ugly. To get it shiny again, it takes some serious sanding. Before staring, I did some research:
Faceplates were also molded: The mold was covered with 1.) Mold release lacquer, 2.) Gelcoat, which is the white finish and 3.) with the composite material
The gelcoat finish is only 0.1-0.2 mm depending of how much has been fine sanded off during production
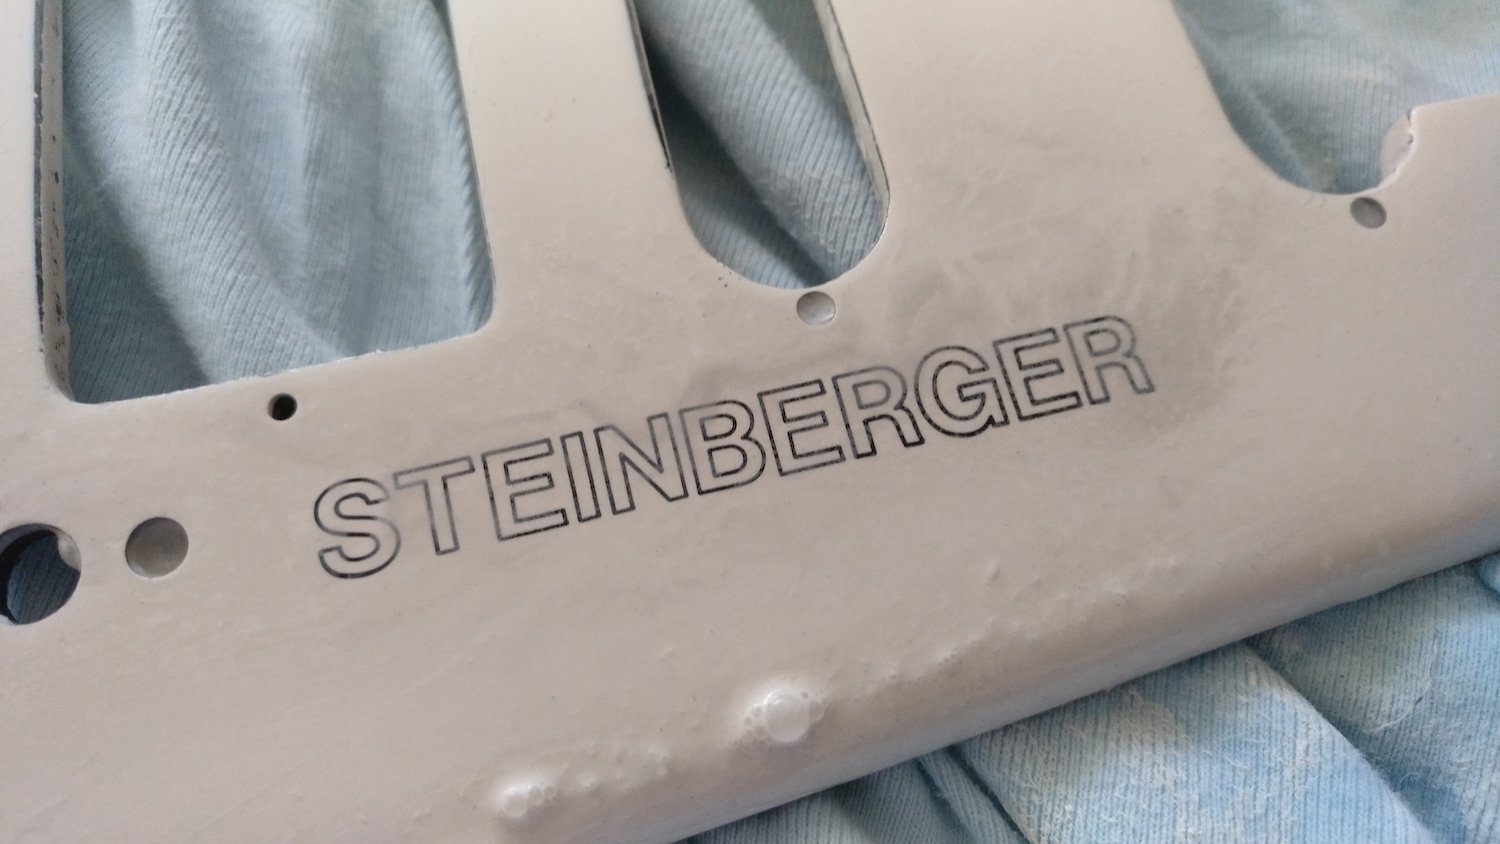
Starting sanding with 600 grit did nothing at all. So I went down to 240 grit. But be very careful! The gelcoat is very thin and the the logo is just milled through the gelcoat, so the black composite layer is revealed.
You might consider using an open cell sanding grit. Whatever method you choose, go for wet sanding.
Once the ugly layer was removed, I instantly switched to 600, 800 and 1000 grit wet sanding. Take your time, be patient!
Sanding completed, get your automobile finish polish and bring it back to shine!
The small crack was glued perfectly with super glue. Thus, I did not do something about it. Trying to fill the small crack with white was out of the question. This might take a dentist’s eye to find the matching colour!
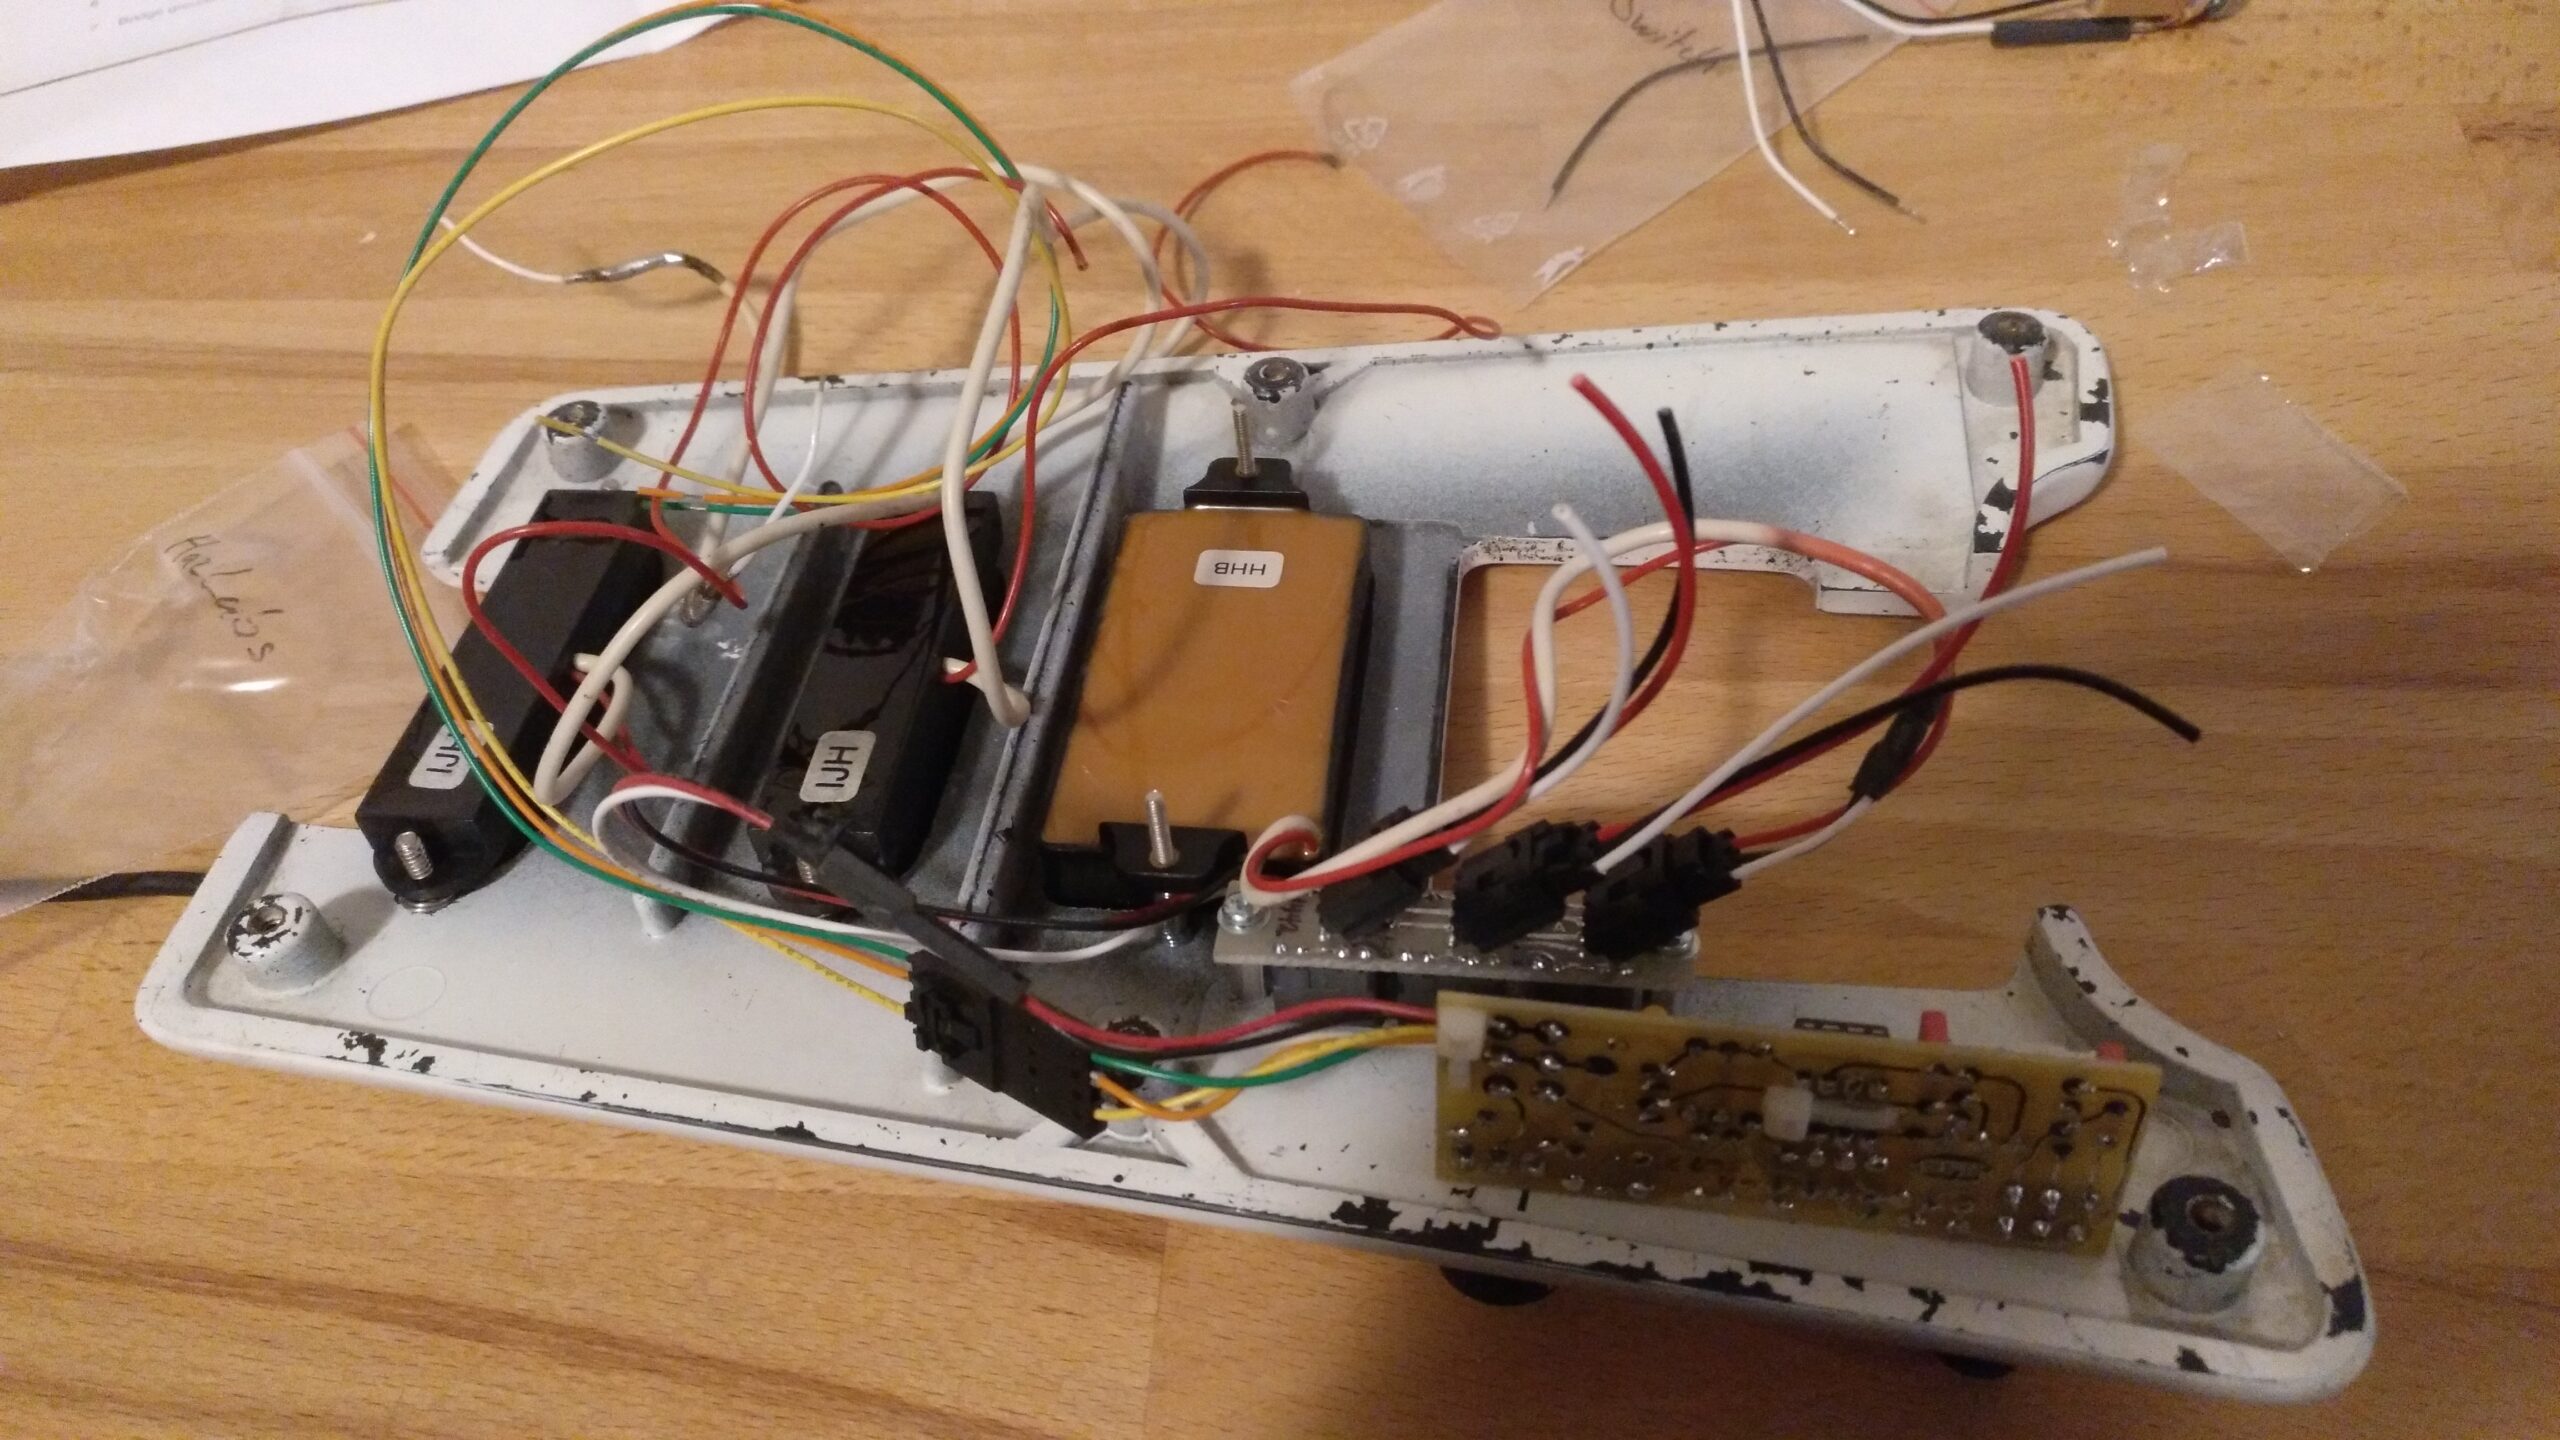
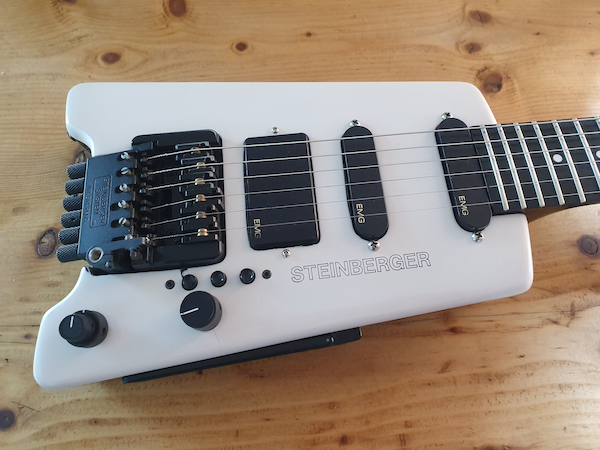
Getting everything back together. For a stock configuration you need:
Original 3-button GL-Switch (important: not having this, means modifying your faceplate!)
HazLabs v2 board (not mandatory)
PUs: 1 x EMG 85 + 2 x EMG SA + mounting
Cables, output jack, battery clip
Right before marriage: With the EMG connectors, you can easily change faceplates without soldering!
Perfect again!
Metal Fatigue – Replacing worn Jaws and/or Threads